Star Tracker Polar Alignment Hack
I am on a constant quest to miniaturise my lightest astrophotography rig to maximise opportunities for travel. Later this year, I plan to be hiking through the Southern Alps in New Zealand, carrying my gear with no space for excess baggage. The core of this photographic rig is the Move Shoot Move tracker, which is the smallest and most compact for travel (accepting it has a lower weight capacity than other larger trackers). I’ve been exploring other accessories to improve the setup, minimise my load and solve the puzzle of polar aligning in the Southern Hemisphere. I think I’ve found a great hack for this…
Leaving the camera gear aside for a second, what is minimum equipment I’ll need?
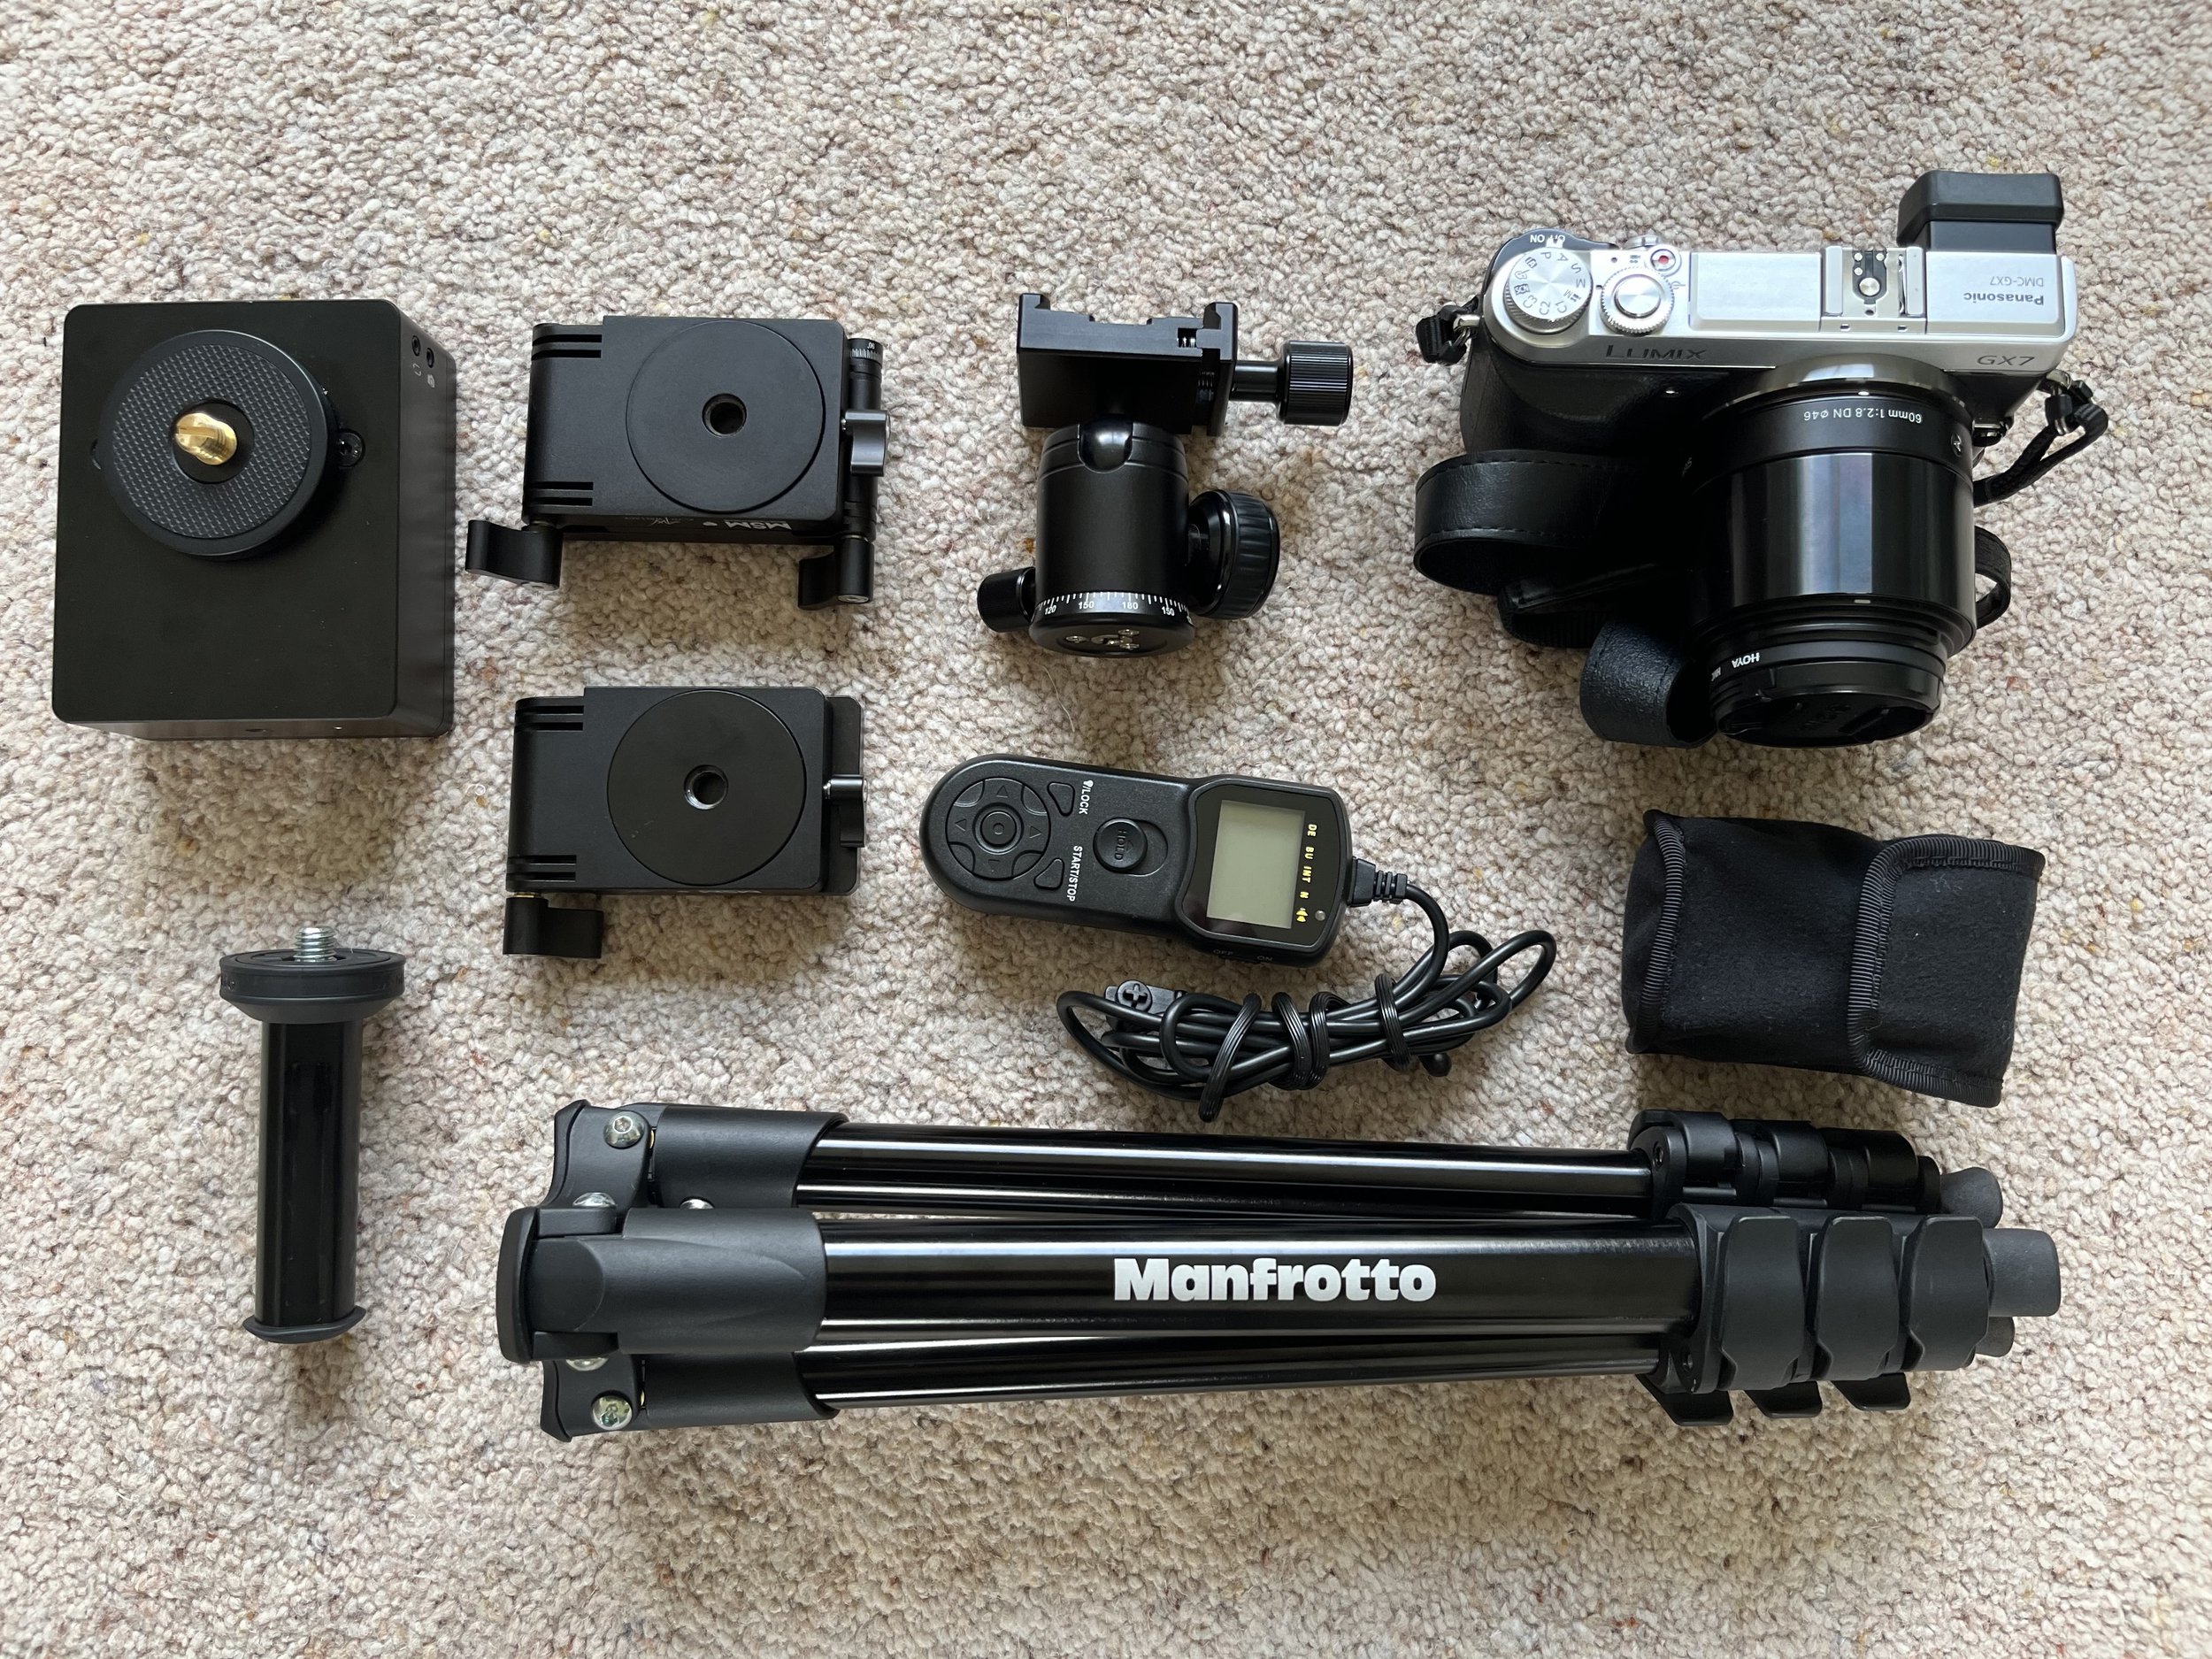
Firstly a light travel tripod that folds down as small as possible (but not so light as to be flimsy). I have the Manfrotto Compact Light Tripod with a shorter centre column accessory. It packs down into a carry bag and slips easily into your rucksack.
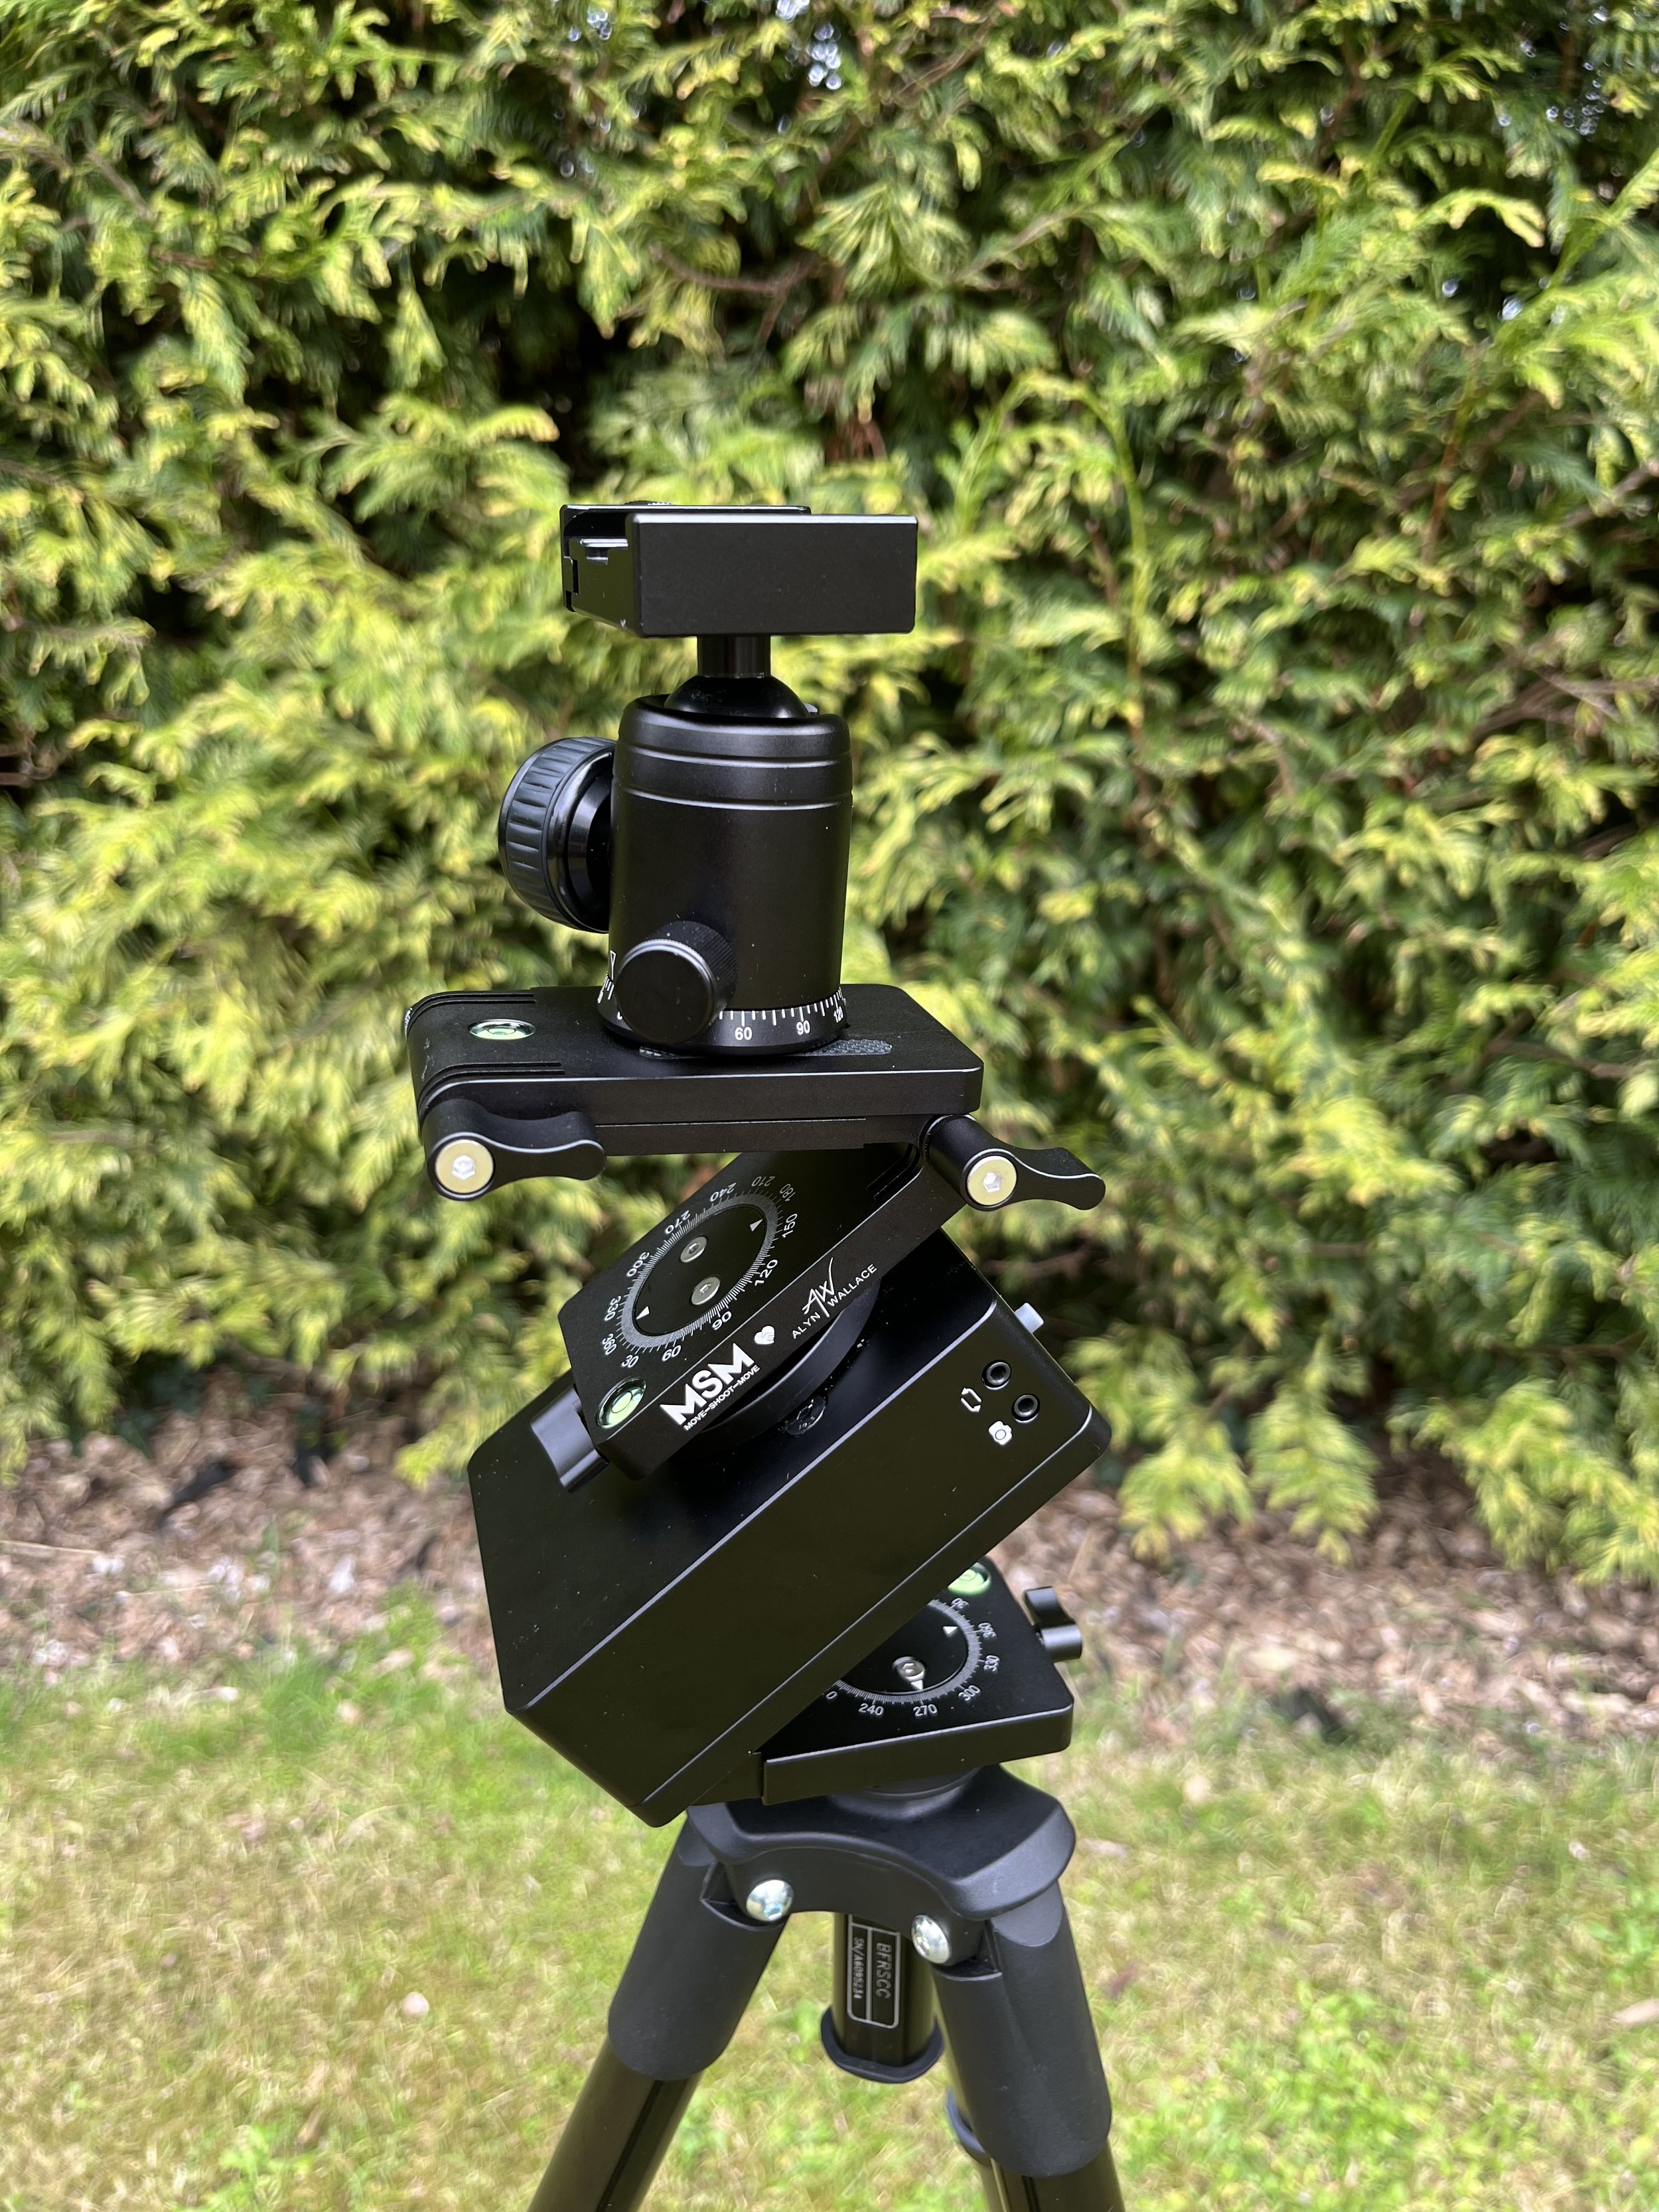
Secondly some form of wedge to get the MSM angled to my latitude. For this I propose using the Alyn Wallace V bracket as it give the ability to adjust both the up/down & right/left adjustments I’ll need for alignment towards the southern pole.
Once the MSM in on the V bracket, I’ll then mount the Z bracket. Onto this I can fix a ball head. I had considered omitting the ball head altogether - and although this could work - I think it’ll make framing tricky and time consuming, especially for targets overhead like the Large & Small Magellanic Clouds.
Southern Polar Alignment Hack
So what about polar alignment? The southern skies do not have a pole star to aim for. I have previously tried with a polar scope containing a star pattern to align to. My ignorance of the southern constellations made this impossible to do in the field and I gave up with it. I could mount a laser pen to the MSM and eyeball the pole position using Crux as a pointer. However, I’d also feel self conscious using a laser in a true dark sky site in case anyone else was trying to enjoy the night sky.
However, I think I have a better plan, and one that doesn’t require any more equipment.
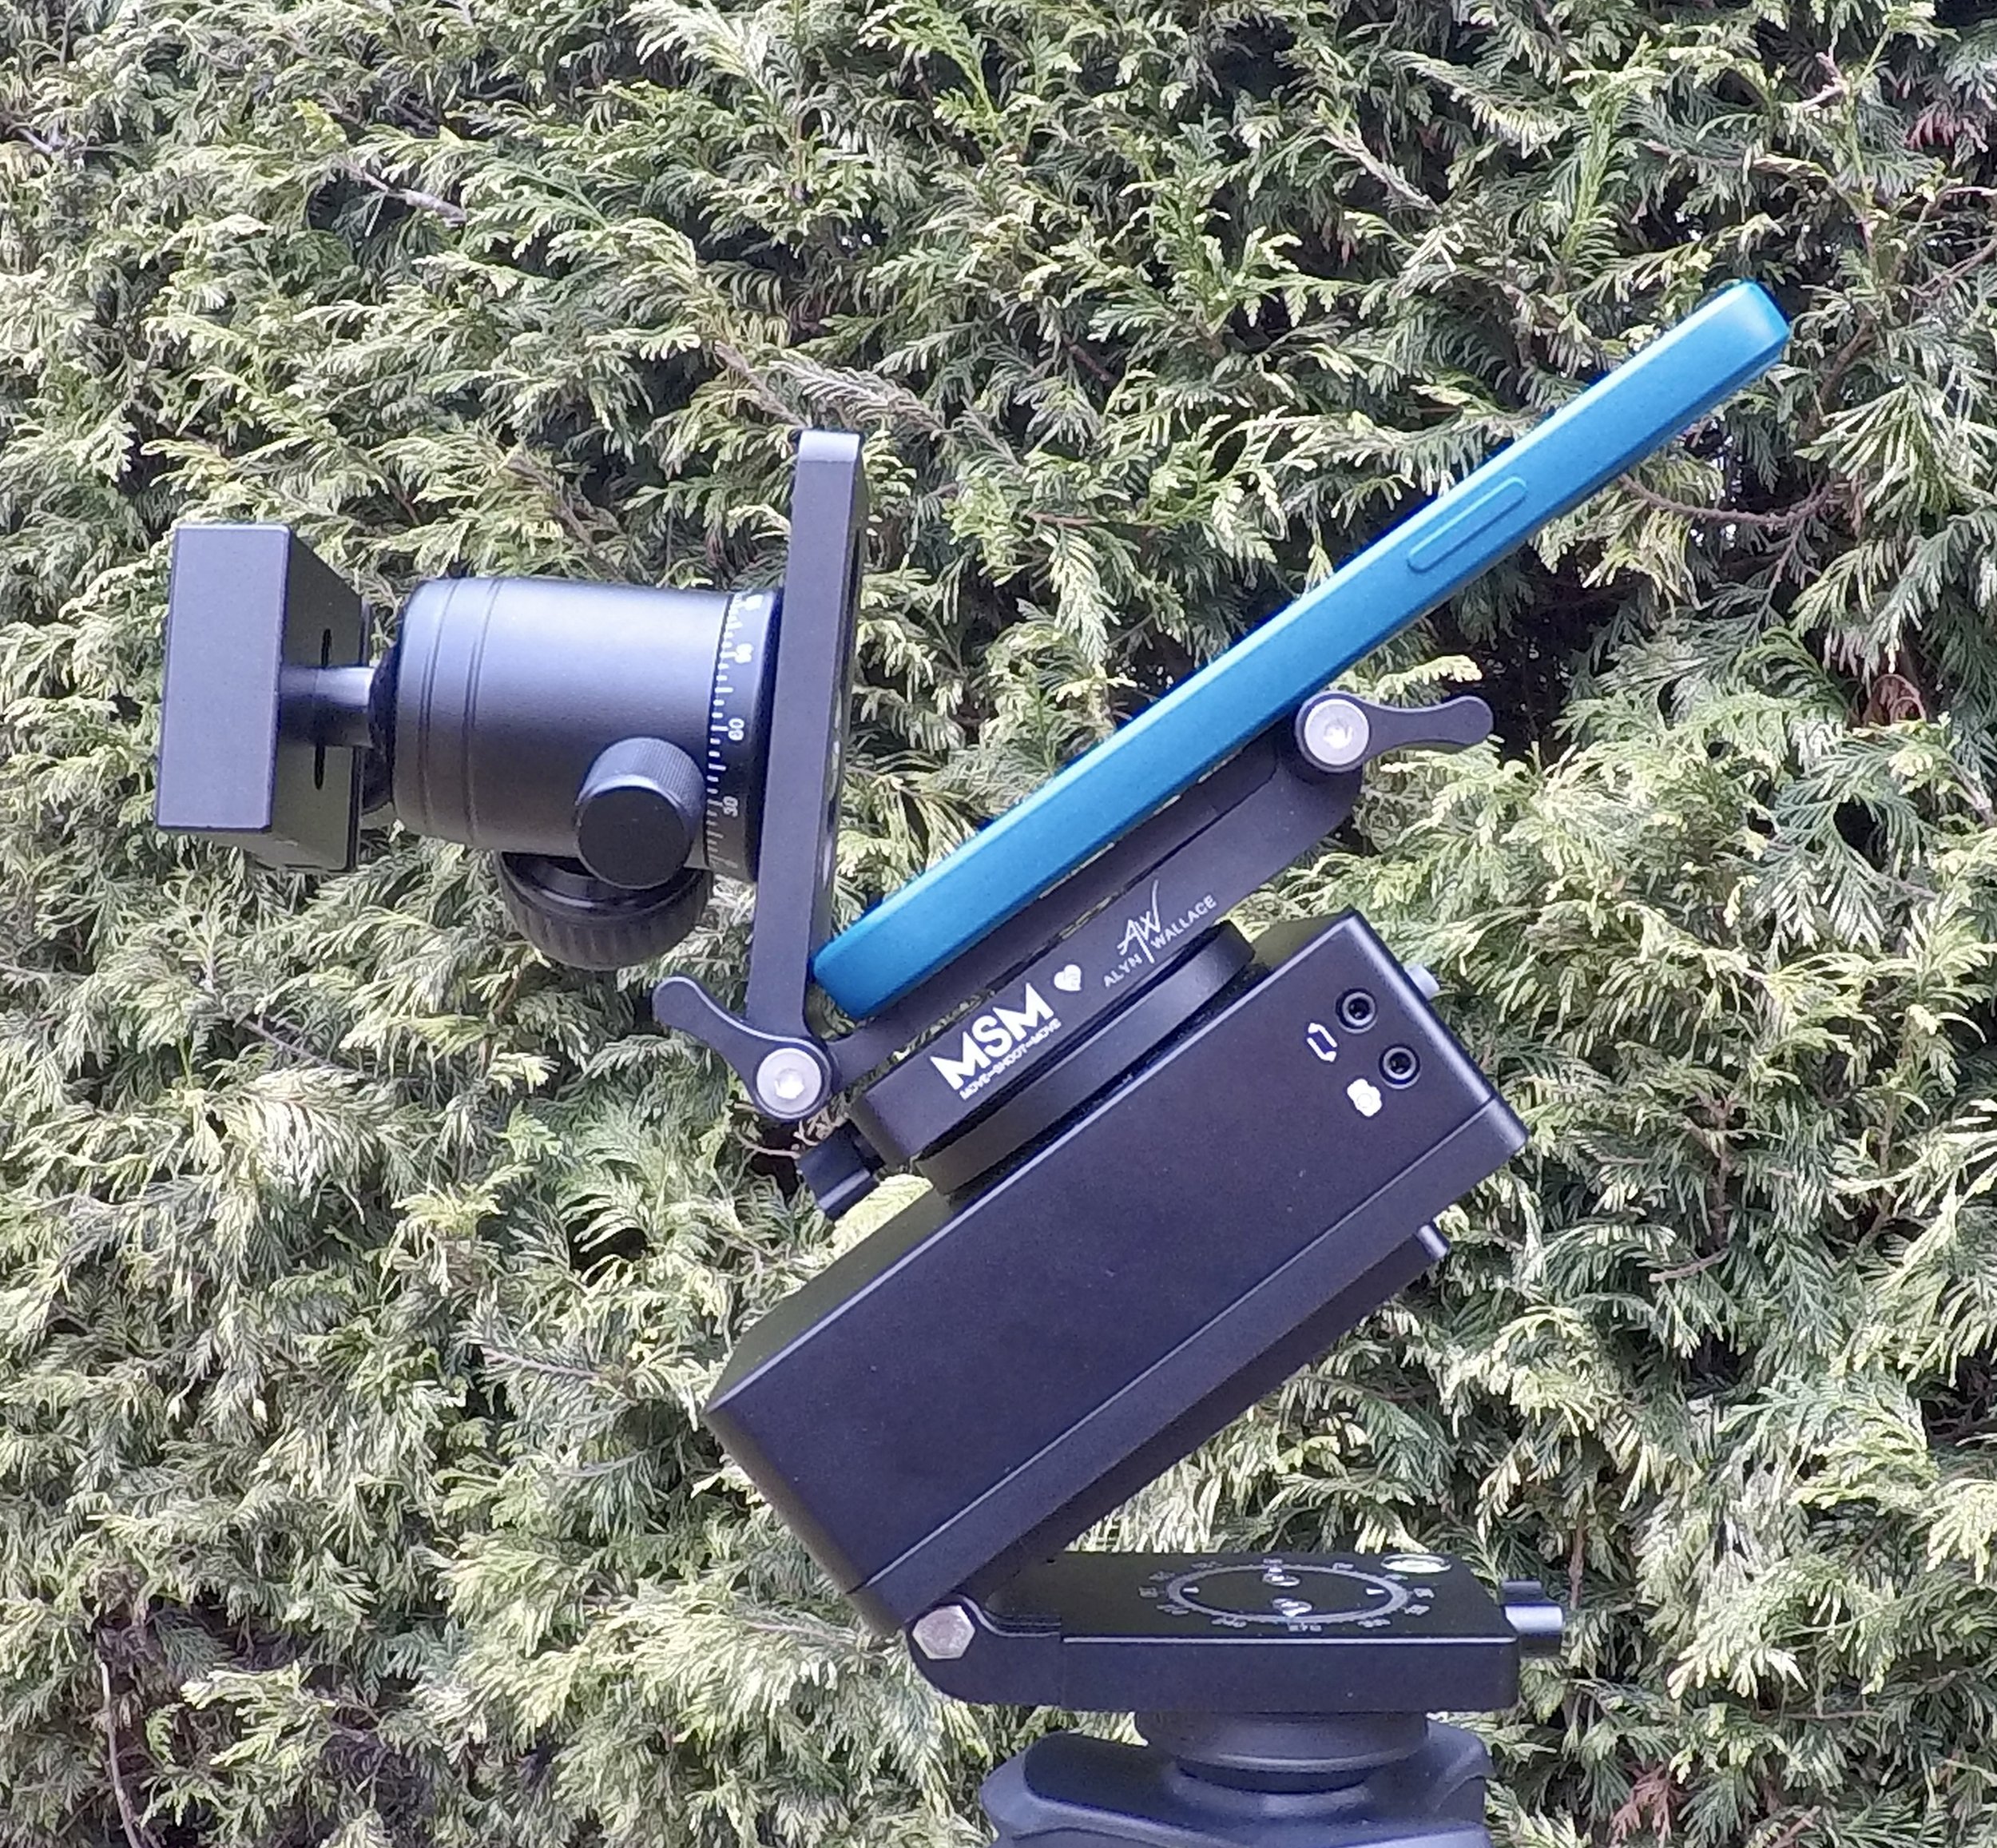
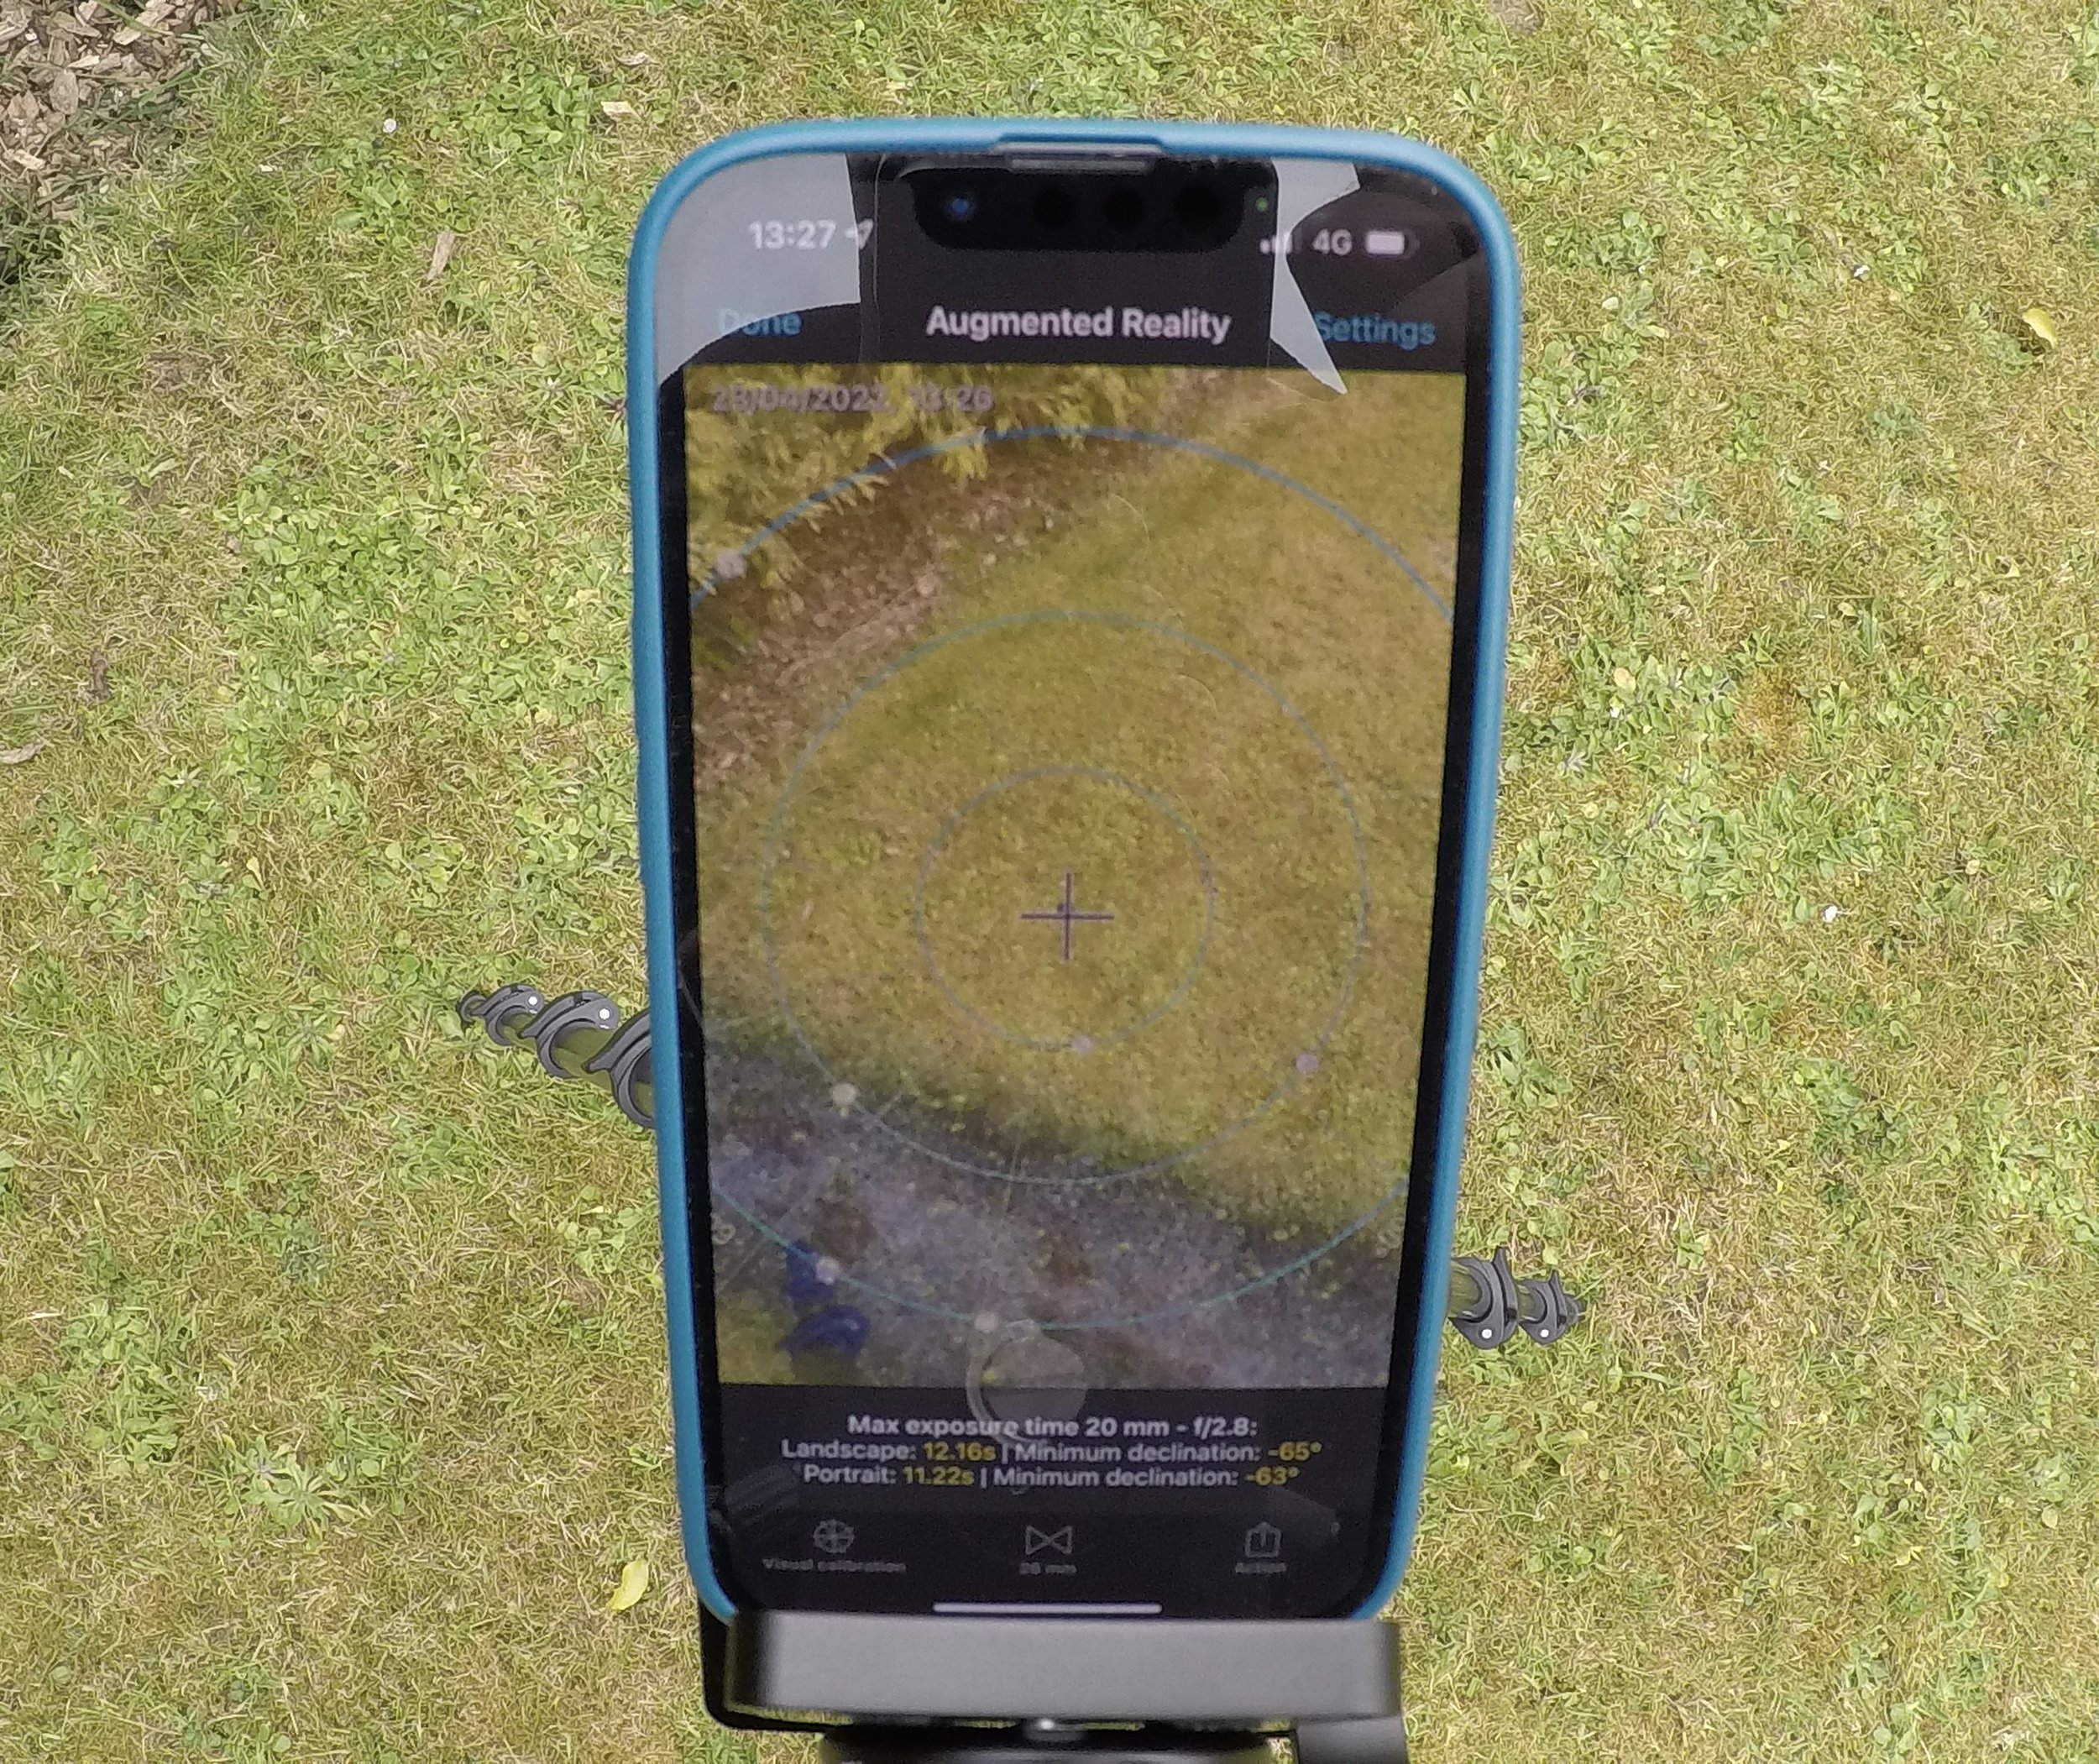
Opening the first part of the Z bracket to 60deg allows me to place my phone securely and totally flat to the plane of the MSM. Opening the PhotoPills app and selecting Spot Stars and then the AR augmented reality mode points my phone’s camera through the ground beneath me to the opposite pole. If I’m testing this in the northern hemisphere it’ll be pointing at the southern pole, and vice versa. The AR view has a cross hair so using the 2-axis adjustments on the V bracket below the MSM I can set both the correct up/down & left/right to centre the crosshairs on the pole.
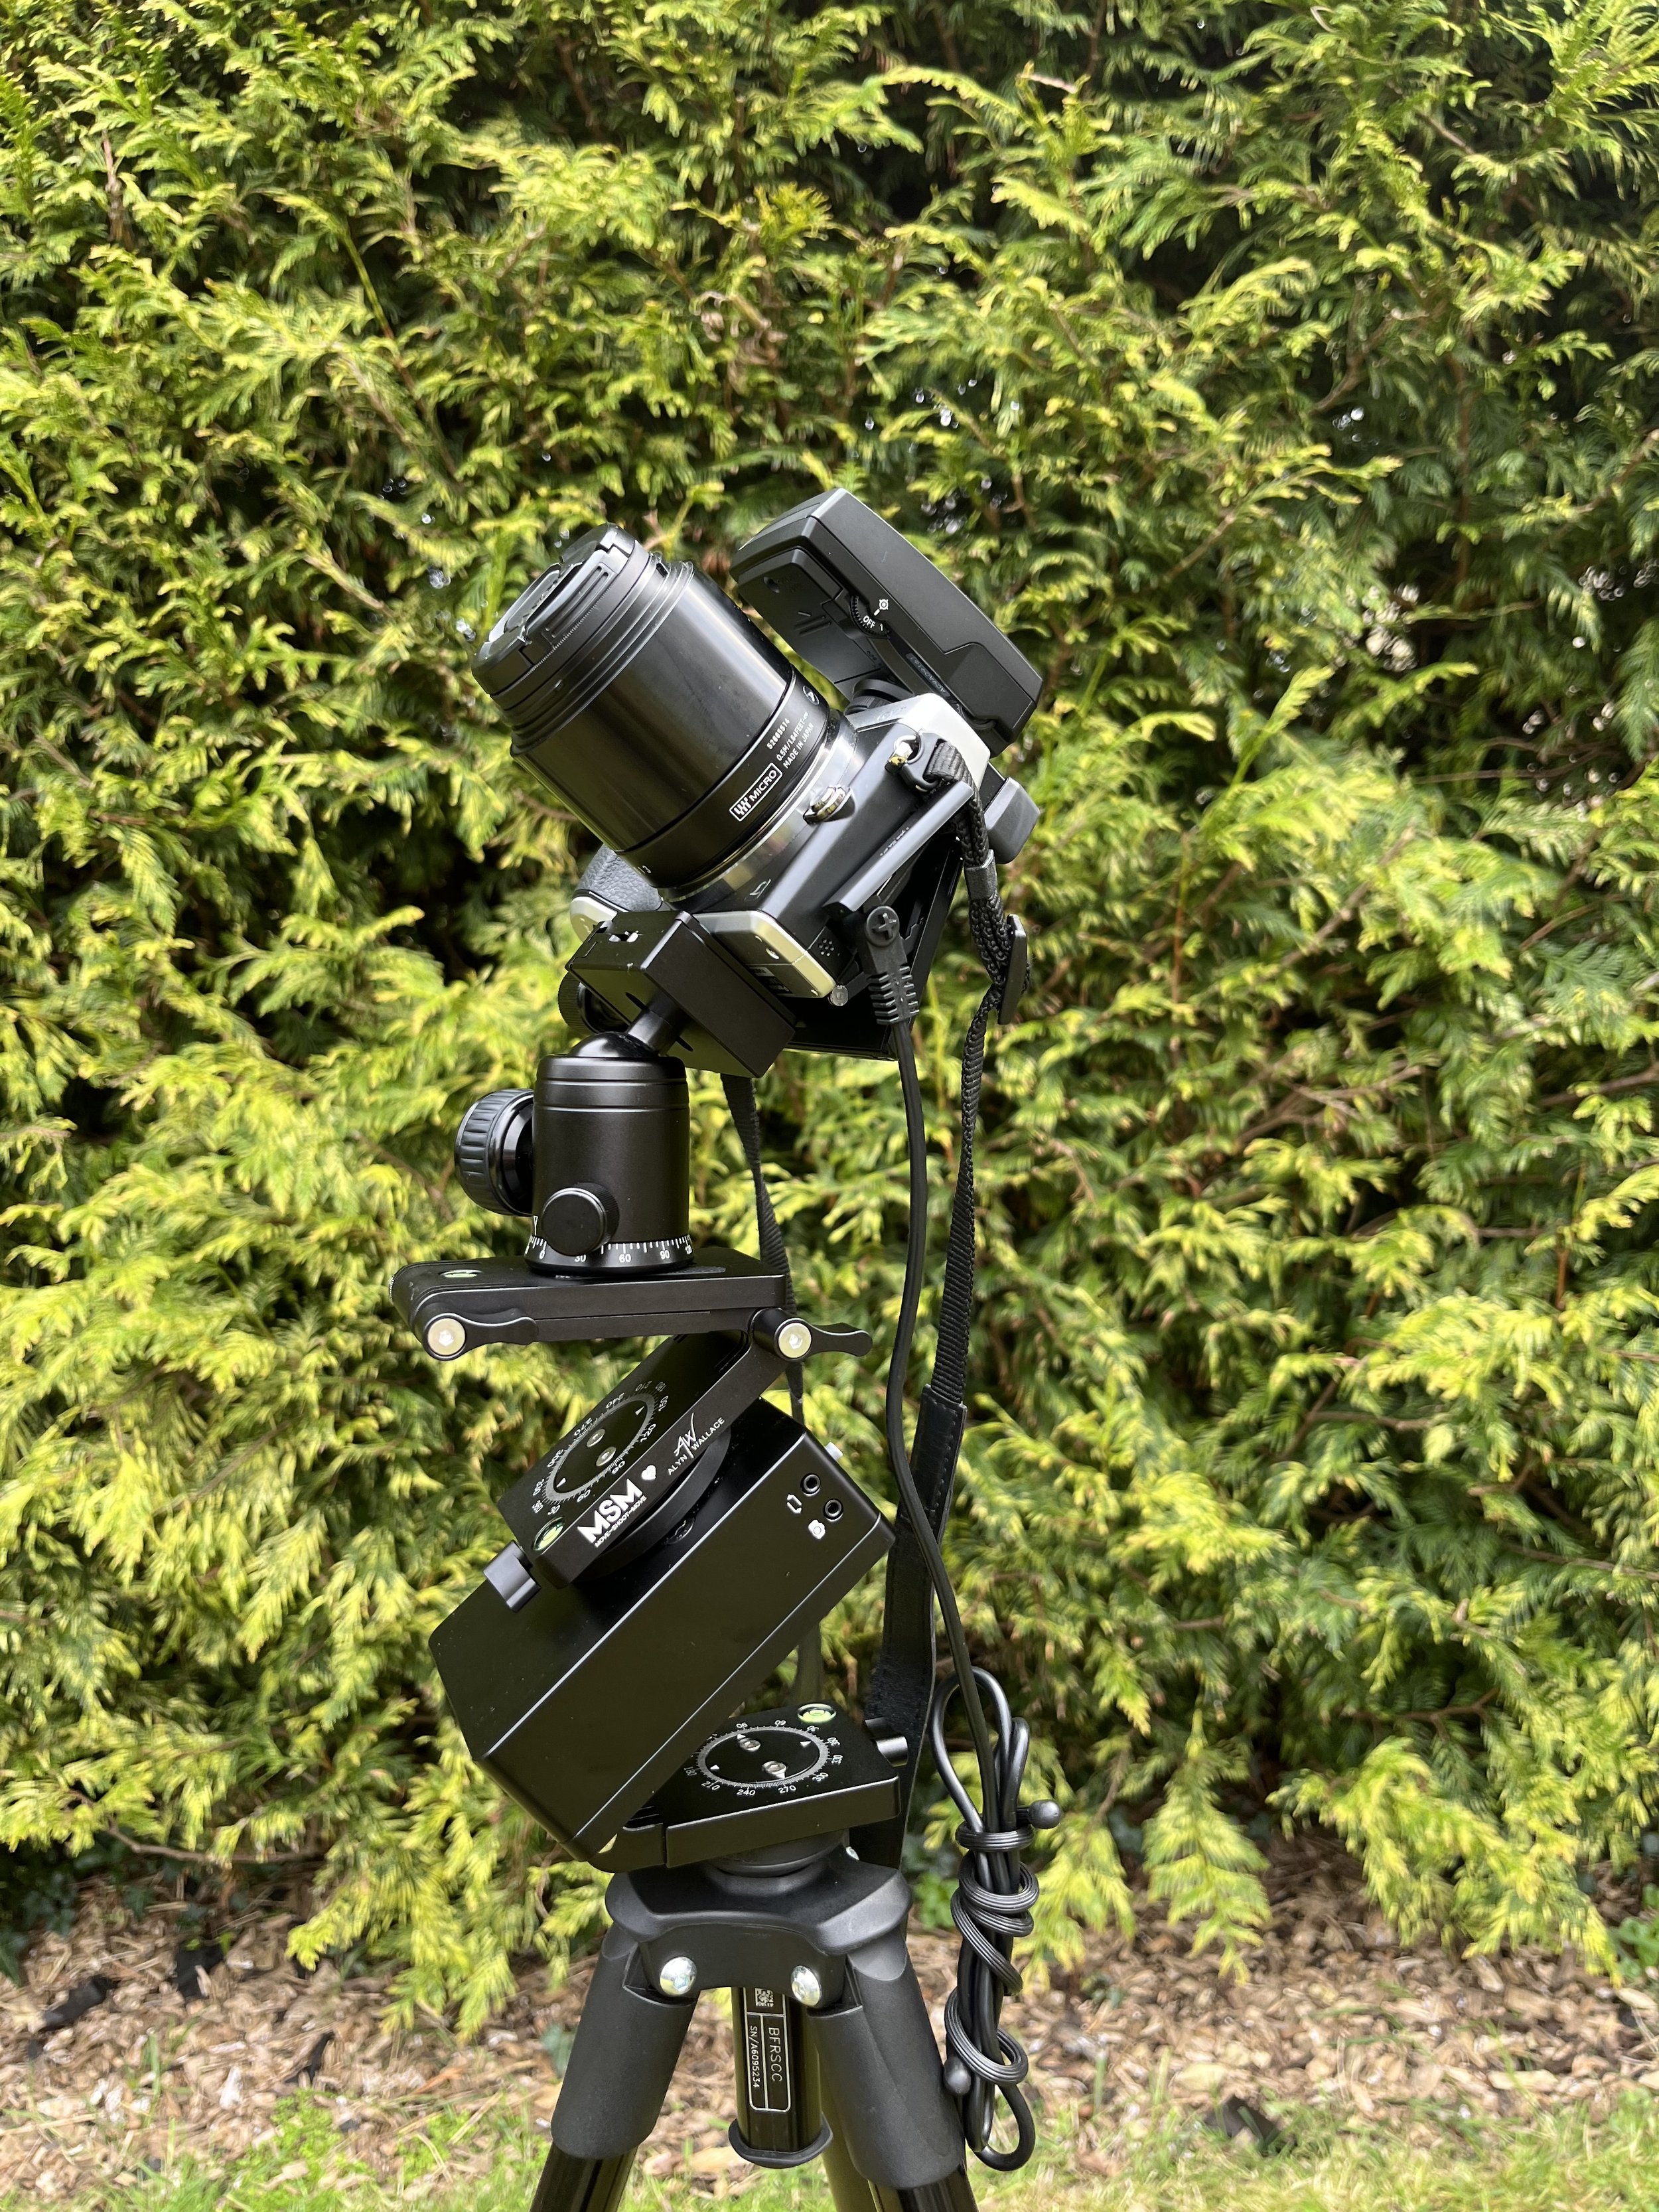
Removing my phone and returning the Z bracket to level with the ball head on top, I can now mount my camera ensuring all the brackets below are locked down tight.
This test involved a Panasonic GX7 M4/3 with a Sigma 60mm lens (120mm equiv), Red dot pointer in the hot shoe and intervalometer. I also have the 20mm pancake f/1.8 for 40mm equivalent.
The rig broken down. Clockwise from top left; MSM tracker, V & Z brackets, Ballhead & Intervalometer, Camera & lens, Red Dot Finder, Tripod, Short centre post accessory.
I appreciate this method is not as accurate as proper polar alignment, but when working with a wide-ish angle for tracked shots of maybe 30sec, I think it will be accurate enough. It is also very quick, and doesn’t require any extra accessories. I have tested it in the northern hemisphere from home and it does the job for tracking images. I can’t wait to try it in NZ.


