Go like a Pro
The further you go for dark skies, the more off the beaten track you need to venture. Once you are on foot or off road, your kit reduces down to what you are prepared to carry. Counterweights! I don’t think so. Finding that balance between functionality in the field and portability is something of a holy grail for astro imagers.
GoPro Hero5
At the end of the year I’ll be travelling back to New Zealand for our third visit; it’s one of my favourite places. I want to get some southern hemisphere images from remote locations, so what do I take? Now I have a lightweight tracking mount (read about the MSM SiFo here) I need to think what camera gear to take.
The smallest camera I have is my GoPro Hero5 which has a Night Lapse mode. You set the exposure (max 30 sec), ISO (max 800) and an interval (say 10sec, 30sec or 2mins between shots). I have been doing some experiments at home and am encouraged by the results, given that it is June and the skies are not very dark.
Summer Triangle: Night Lapse Mode, stack of 10x 30sec exposure, ISO800, 1min intervals, Narrow FOV
Previous GoPro images: wide single frame from 2018
Another single frame with some post-processing in PS
I have also been experimenting with sticking these Night Lapse images together into videos. I think this will take some more practice to get the processing of the stack correct and then find the optimum video settings so the starts are not lost in the compression process. With luck I may find the perfect setting for meteor showers, utilising the extremely wide angle of the camera (much like a whole sky camera).
RAW settings.
The GoPro Hero5 has the ability to shoot in RAW and JPEG. It appears though you only get RAW images when taking an individual Night Photo in Wide setting. When using Night Lapse Mode (a reputed sequence of images) or one of the different camera FOV settings, you only get JPEG outputs.
Examples of field of view settings from Wide to Narrow. Not illustrated is the fourth seeing Medium
The Set Up
What - no cables? This this the complete set up used for the Summer Triangle image above
GoPro, ballhead, SiFo with laser pointer, tripod.
One setup, the GoPro can be controlled from your smartphone to adjust settings, exposures and view images
Another benefit of the GoPro camera is that is can be controlled remotely by smartphone. This enables settings to be changed and images reviewed; so once in place, you can retreat indoors and run some tests before your imaging run. As its waterproof, if it rains, no worries (though I’m not so sure about the tracking mount!). With further practice, I think this may a great solution and will save me having to take a DSLR body and wide field lens, which although would yield greater quality, is a lot of kit (and weight) to take halfway around the world.
GoPro Gallery
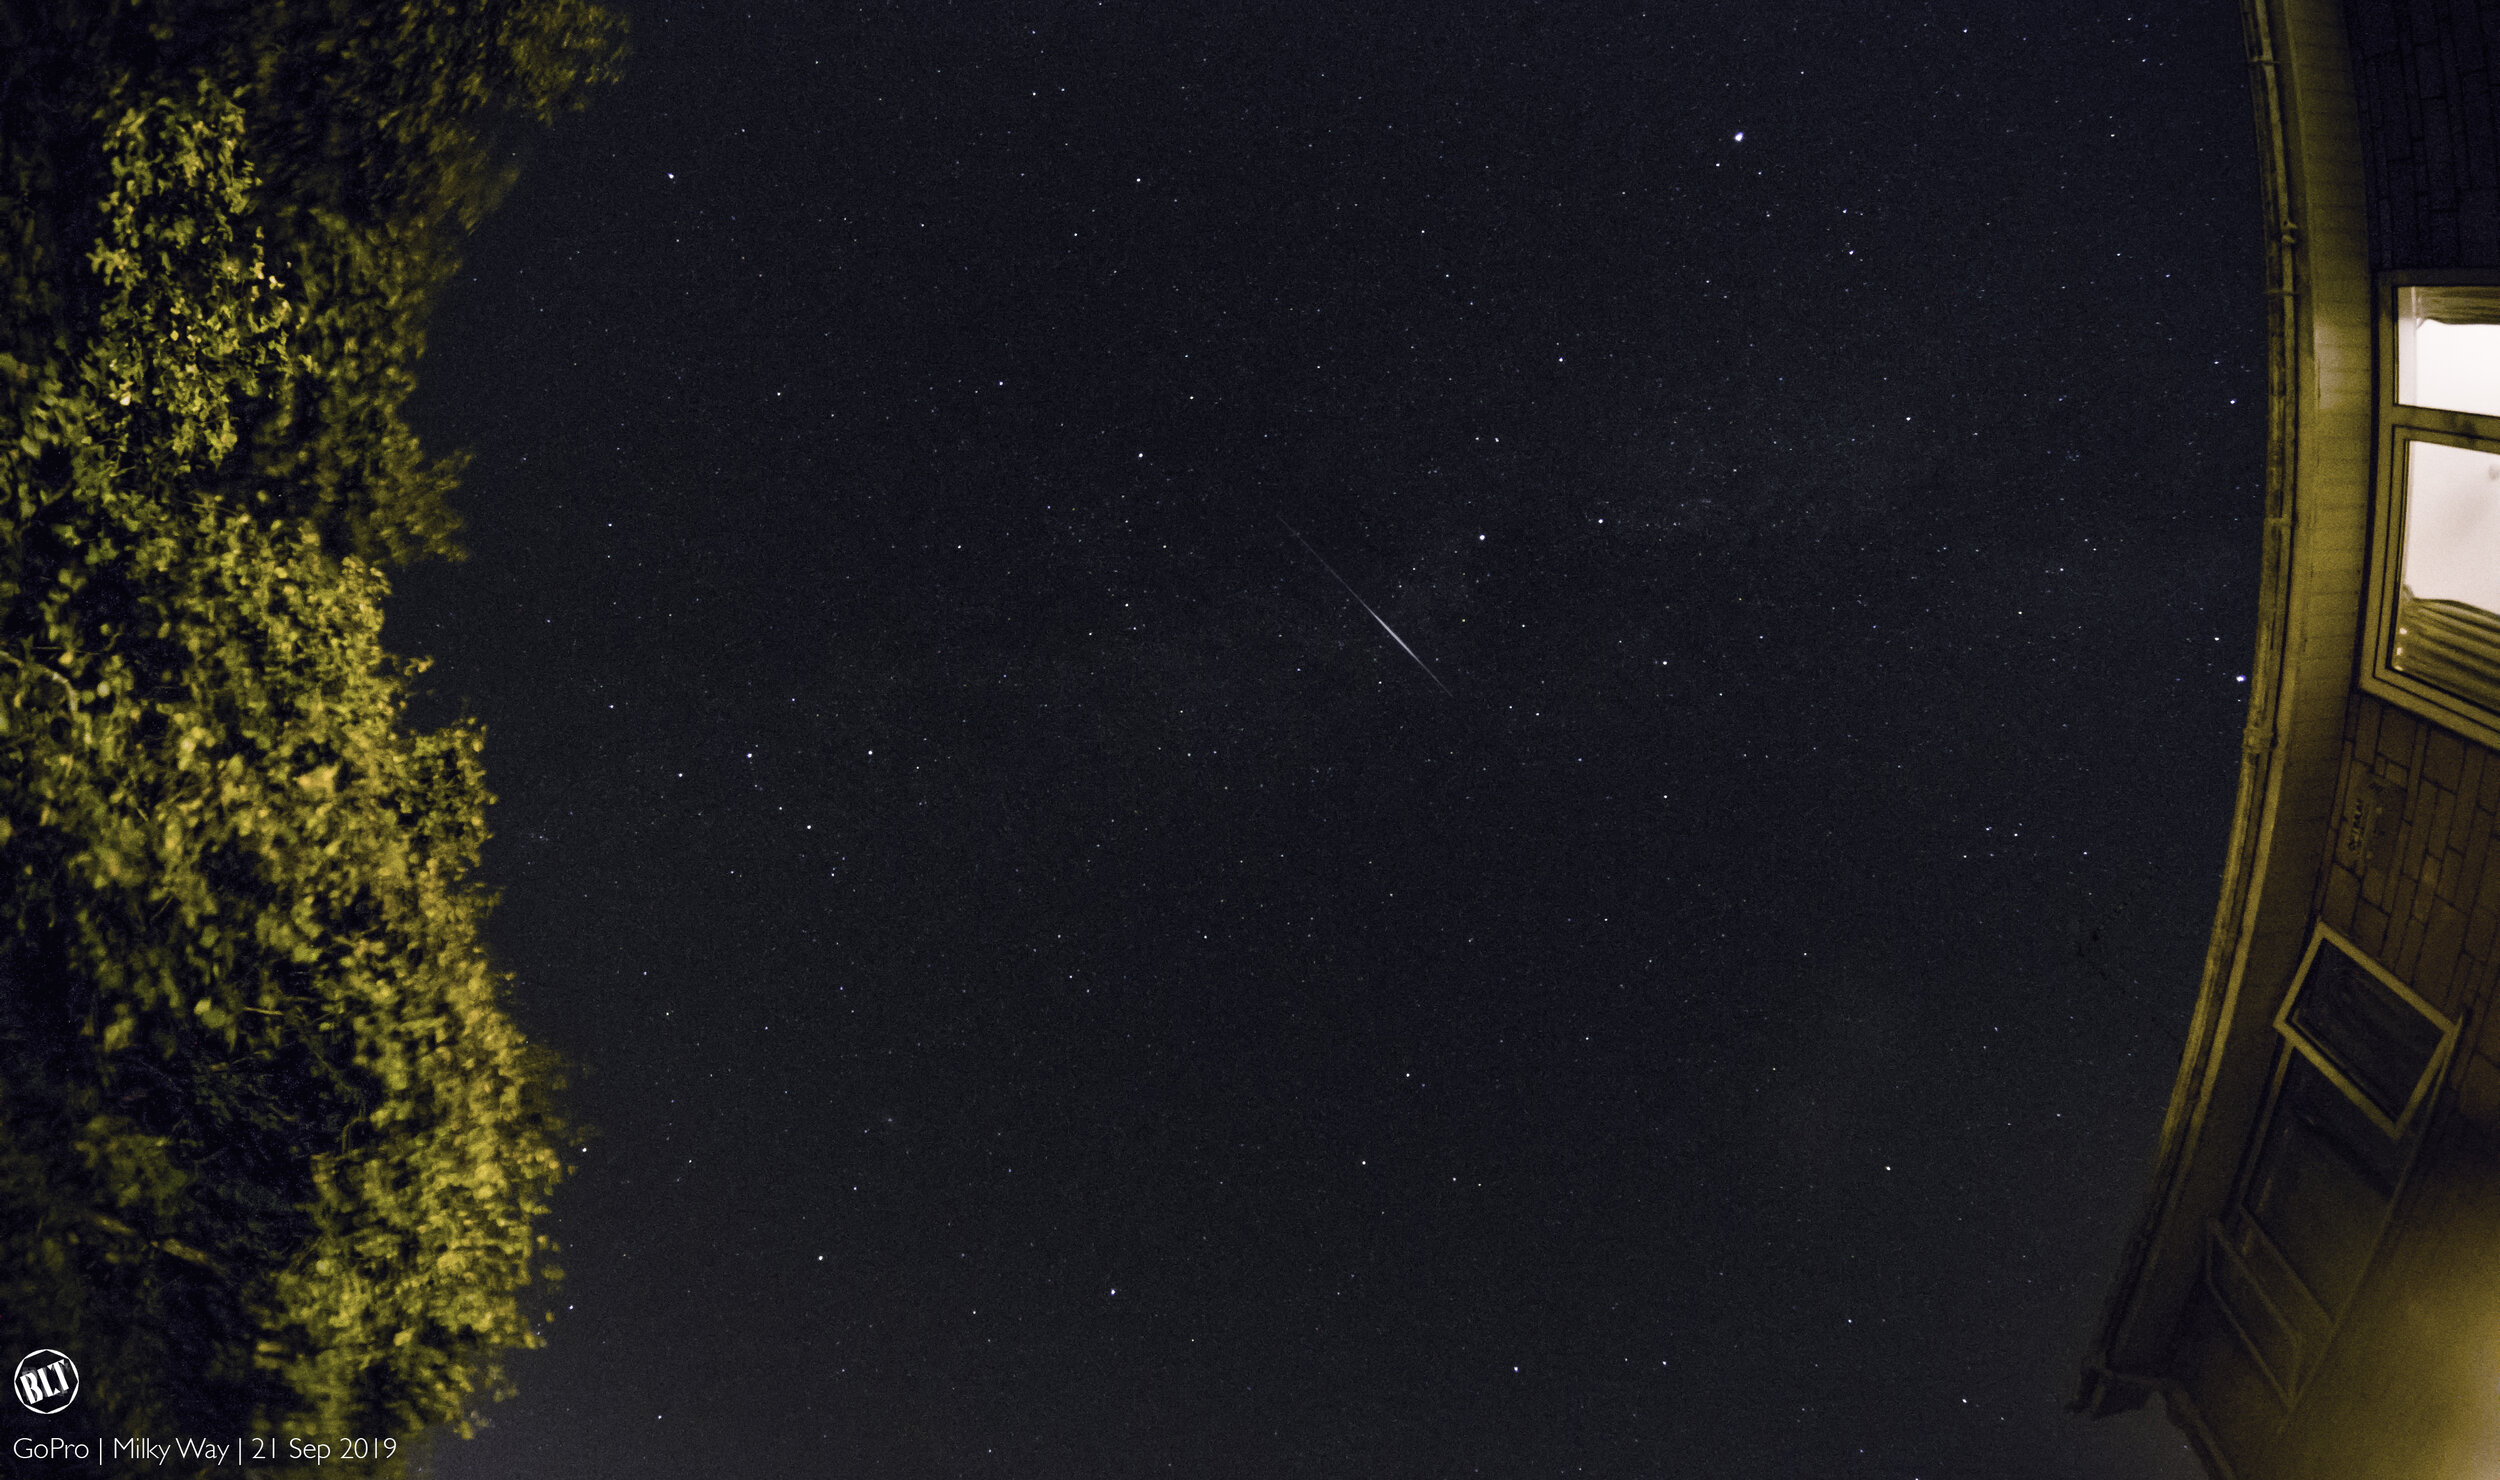
30sec Night Photo, tracked on the MSM SiFo Rotator. Lucky capture of a flare, proving it should be a great setup for meteor showers…
Animated GIF of an ISS pass
Star trails, stacked and blended in Photoshop
Single 30sec GoPro Night Lapse frame, capturing Comet C/2020 F3 NEOWISE
Stacking with Sequator
June 2020: I have become aware of software that is a great help in the stacking and foreground control of tracked images. Sequator is free software for Windows users that allows you to load images (+flats and darks if desired) and stack to reduce noise in the images. The big benefit for image composition is that it ‘freezes’ the foreground while allowing the sky and stars to be tracked. Having watched some YouTube tutorials, it is recommended to use 6-10 frames, after which point the elements you want fixed may have moved too much to allow the software to accurately stack the images. As a trial, I dug out some old data and stacked the following images, followed by some adjustments in Photoshop to draw out the detail of the Milky Way overhead. Click images to expand.
All these are taken from city locations yet the Milky Way is clear in each.
3 fixed tripod images stacked to reduce noise
8-10 tracked images stacked
8-10 tracked images stacked
8-10 tracked images stacked
8-10 tracked images stacked. The Andromeda Galaxy is the elongated smudge in the 8 o’clock position.


